

I'll be the first to admit, I'm a sucker for themes but I guess that's no secret really. All you have to do is whisper a project theme in my ear and I start twitching, my mind runs away 1,000 MPH with different ideas. Some incredibly creative and some just a bit completely overboard. Babe, do you think we could get a real dolphin at her under the sea party? Ok maybe not that extreme but thankful the hubs is here to reel me in a bit sometimes. Although today he was at work while I made these ewwy gooey slime filled (yes slime filled) cupcakes so there was no stopping my madness. I'm not sure if it a blessing or a curse sometimes...I often wonder!?

Anywho, I love getting creative around Halloween. I'm a girly girl for sure but sometimes planning, crafting, and baking for 3 girls all this time gets old. There are only so many princesses, jars of glitter, and shades of pink in this world I assure you. Sometimes you just have to get messy, in a cute way of course. ;) So today I baked up some ewwy gooey cupcakes...after yesterday's graveyard pudding I knew all the kids would have fun with this little treat. Cause you know they have it so rough and all.....

A few bones, a few hairs, a few ants...and some green gooey bubbles and you have a really fun spooky treat. And it turns out slime is super yummy. Oh what's that..you don't like green slime oozing out of your cupcakes? Really? Well don't worry it's just white chocolate pudding with a little food coloring. Although the kids had many different versions of what it really might.....

Here's what your going to need:
24 baked chocolate cupcakes
2 sticks unsalted butter
1 cup shortening
1 TBS clear vanilla extract
1 2lb bag of Domino powdered sugar
4 TBS milk
2 boxes white chocolate Jell-O pudding
4 cups milk
Piping pag
large round tip
Viva paper towel
lime green gel coloring (or bright green and yellow)
Assorted sprinkles
I used sprinkles from several different Wilton's Halloween sets which can all be found at your local crafts store. I used some little bones, ants, "black hairs" eye balls, etc.

First bake 24 of your favorite chocolate cupcakes and set aside to cool. For the chocolate cupcakes I used the chocolate cupcake recipe posted here. Now time to get to the fun stuff!
Step 1: Whisk together 4 cups of milk and 2 boxes of white chocolate Jell-O pudding for 2 minutes. Add in a few drops of lime green gel food coloring. I used electric green by Spectrum which I get from a baking supply store. I'm not sure Wilton makes a lime green, however, mixing together a small amount of their leaf green and yellow would get so a similar result. Cover and set in fridge to setup for a few moments.

Isn't is grose looking? Don't let it fool ya, this pudding is my favorite flavor!

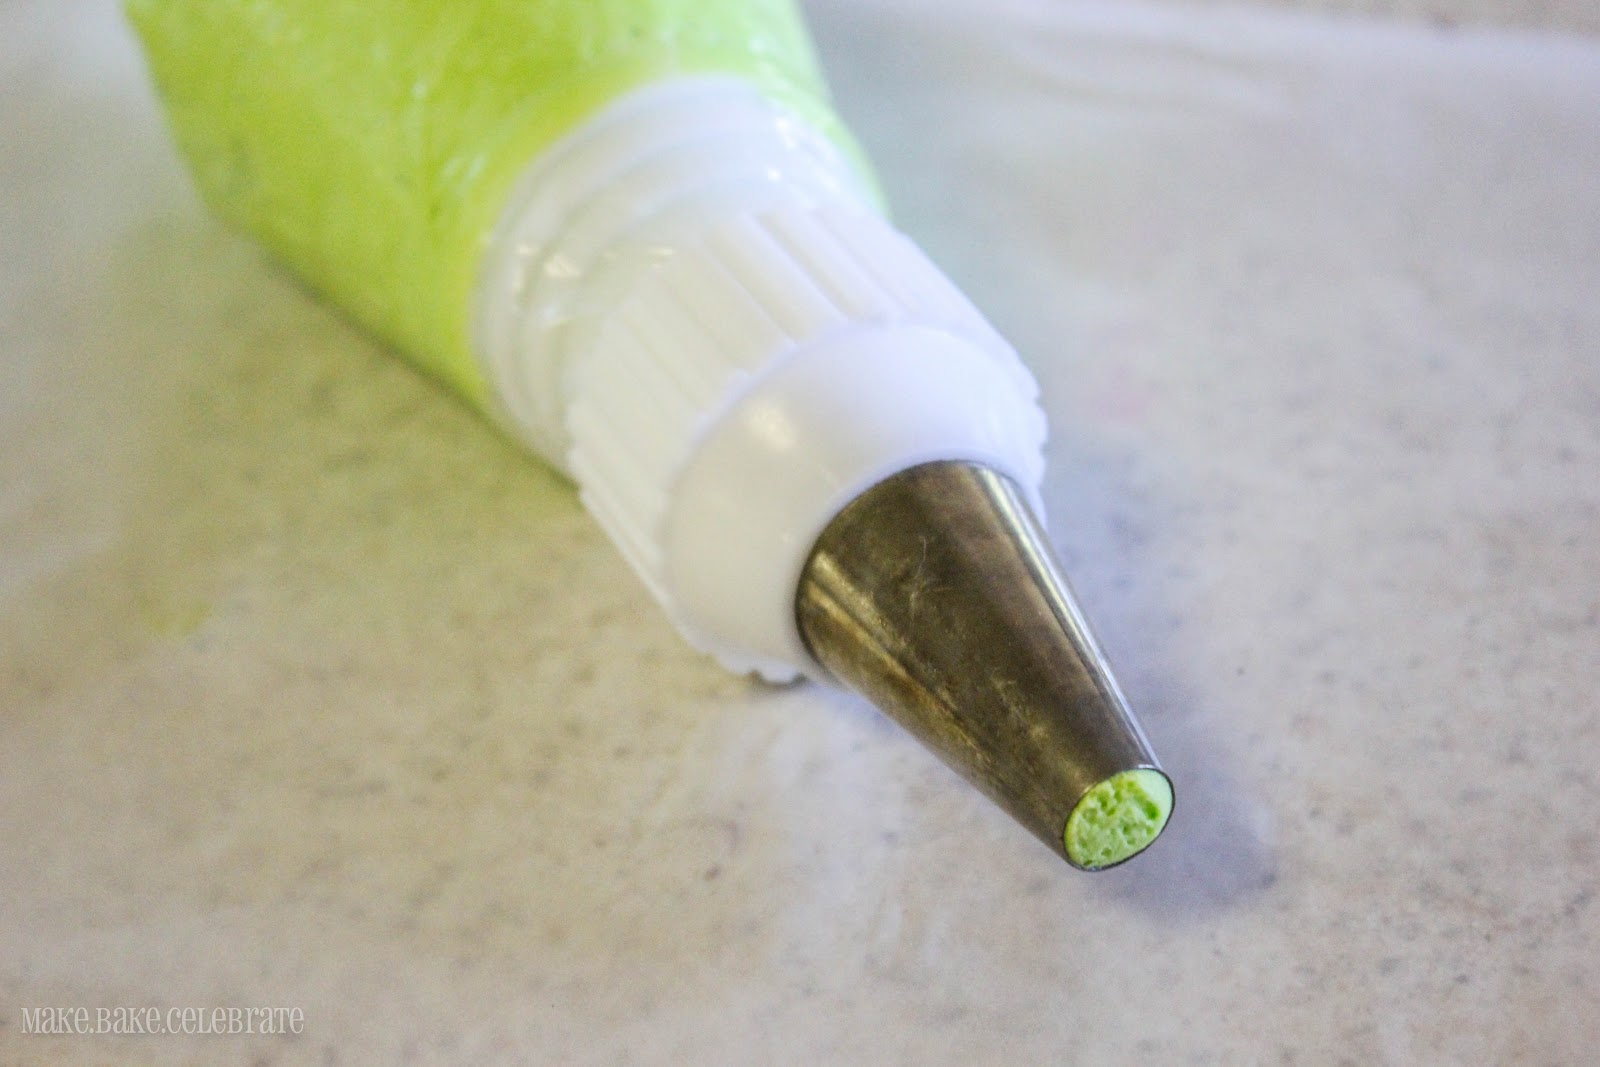
Step 2: While your pudding is setting up, core your cupcakes. I like to do so by using a large round tip. Just insert and pull out to remove just enough cake to fill without sacrificing too much cupcake. I use Wilton tip #2A.

Step 3: Once pudding has set up (about 5 minutes) pour into a piping bag with a large round tip (again I used tip 2A). Fill your cupcakes by inserting tip all the way down into the cupcake then releasing pressure and pulling up. (Sry for the lack of picture...it's that whole no third arm thing again!) Set cupcakes aside.


Step 4: Begin making frosting by beating together 2 sticks unsalted butter and 1 cup crisco. Add vanilla, beat well. Slowly add in entire bag of powdered sugar until about one cup at a time. Once mixed well, add in milk 1 TBS at a time. I find 4 TBS was the perfect amount for this, not too stiff but still able to hold a nice shape. Now add the same green coloring until you have achieved the desired color.

Just a little tip! I like to decorate cupcakes on my cake turn table because it makes it easy to spin around and even tilt. I find I damage less cupcakes by moving them this way! I can't tell you how many times I've poked a cupcake after icing. And maybe I just really love my new turntable Duncan Hines sent me :)

Step 5: Fill up a clean piping bag with icing with the same round tip you've been using (after a wash of course).
To decorate the cupcakes your going to just be making simple little blobs. Really it can't get much more simple! Just press a bit and release. If your new at piping maybe pull out a bit of wax paper and try a few blobs first till you get the hang of it. I promise it will be the easiest pipping ever though.

Step 6: Starting at the center working your way out, pipe on your little icing "blobs". Feel free to get random with it...and stack a few. Don't worry that they have those little tips...we'll get to that next!


Step 7: Once you've pipped a few they will have crusted over a bit. Use a small piece of Viva paper towel and gently push down the tips of your "blob" to make them little bubbles. This is a trick used to smooth out buttercream cakes!

Now you should have a bunch of slime filled bubbling green blob cupcakes.

Step 8: Add on some sprinkles. I actually have a special pair of tweezers that I use only on foods for times like this. I didn't just want the sprinkles everywhere. I wanted the little black "hairs" sticking up and the bones to be visible. So I applied some on with the tweezers and some I just sprinkles on like normal. Obsessive I know but what can I say!

Now you have some fun cupcakes to gross out the kids, or your co-workers. Just don't take them to your new neighbors ;).

The weirdest part about this is...I actually thought of a few more times where these would be appropriate!?! lol.

Happy Baking!